

Commercial Lighting Retrofit Planning for GTA Businesses
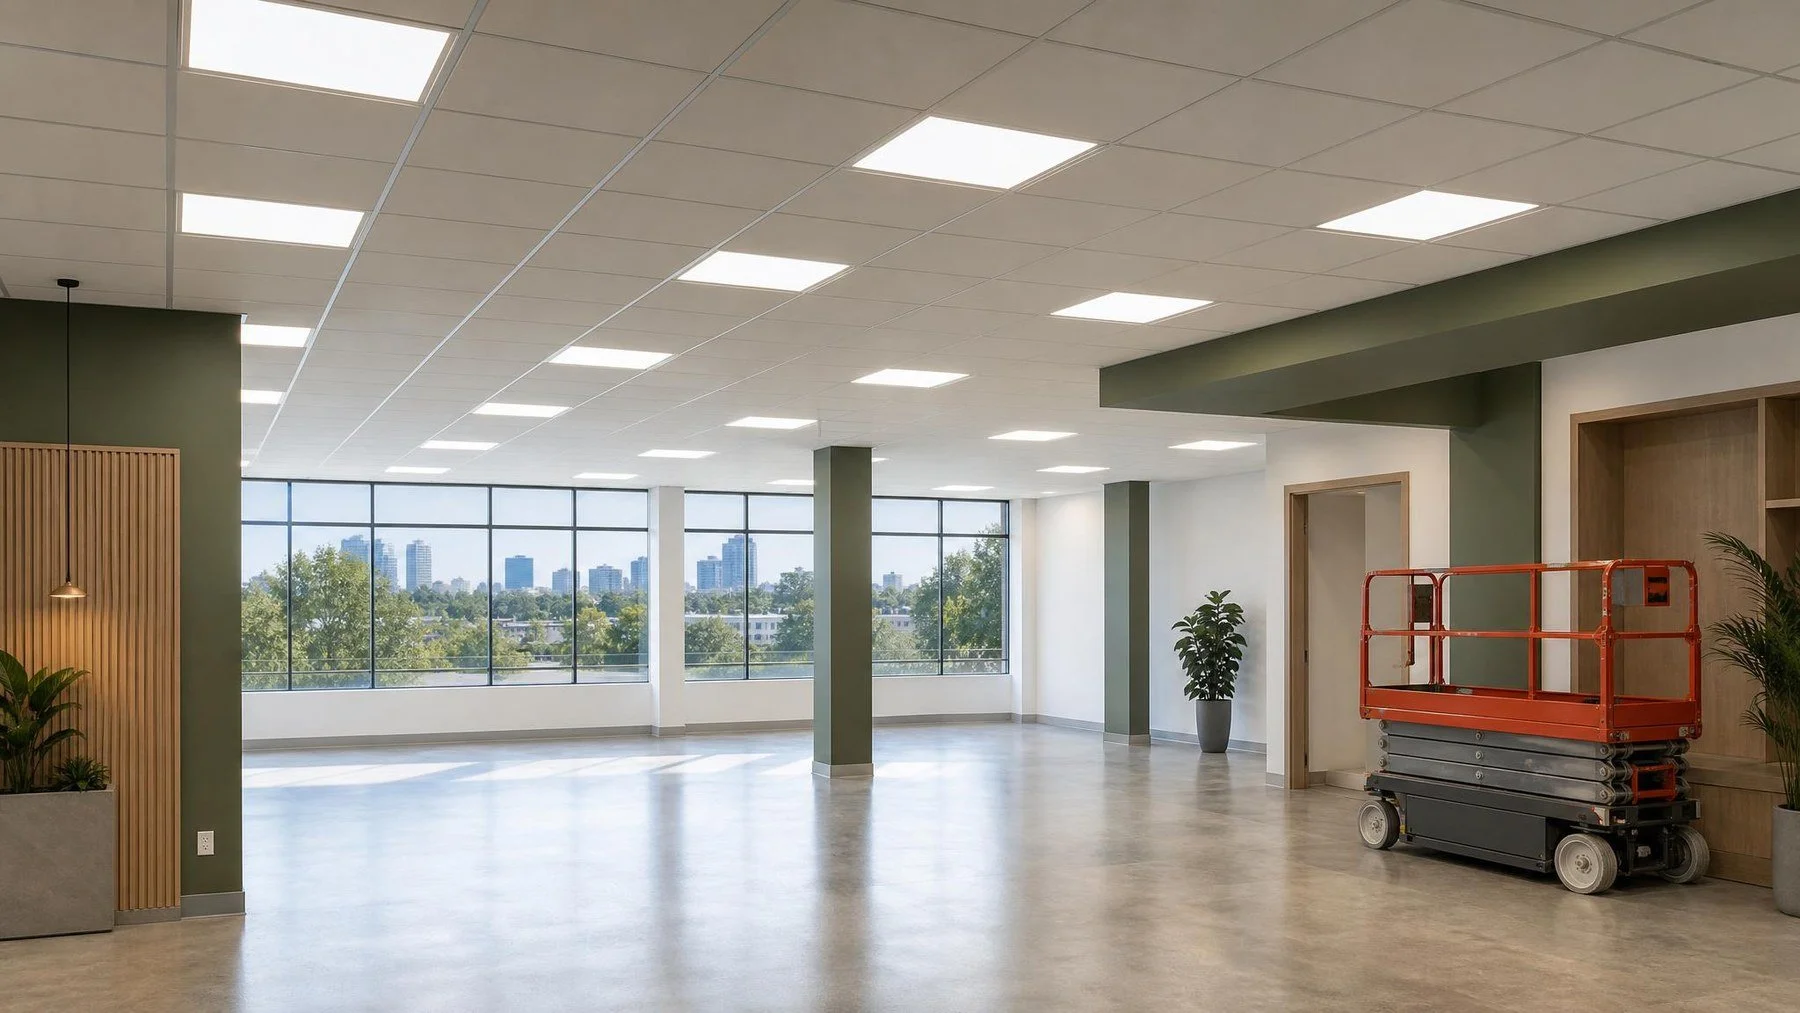
The fixture count is the easy part of a retrofit. The harder questions are who is in the room, when, and what has to stay lit while the work happens.
Your office still runs on old fluorescent troffers, a few tubes flicker, and someone has suggested switching everything to LED. Before you ask for a quote, there is a better question to settle: how do the people in this space actually use the light, and how much disruption can the business take while it changes?
For business owners and facility managers across Toronto and the GTA, a commercial lighting retrofit usually happens in an occupied building. Staff keep working, customers keep walking in, and a warehouse keeps shipping. A plan that starts with the products and ignores those constraints tends to end with ladders in the aisles at the worst possible time. This guide walks through a retrofit in the order we recommend planning it, from the first walkthrough to the final check. It is about scoping and phasing, so you can brief your electrician clearly and compare quotes on the same basis.
Step 1: Map How Each Area Is Used Before Choosing Anything
A retrofit that swaps every old fixture for a new one in the same spot repeats every old mistake. Walk the space with a floor plan and note what happens in each zone. A reception desk, an open office, a stockroom, a loading dock and a parking lot all need different things from their lighting.
For each area, write down the hours it is occupied, the tasks people do there, and the complaints you already hear. Glare on screens, dark corners at the back of a shelf aisle, a boardroom with only one switch, and lights left on all night in a storage room are all useful notes. They tell your electrician where to change the layout or the controls, not only the lamps.
Questions worth answering at this stage
- Which areas are used after hours, and by whom?
- Where do staff do close visual work, such as reading labels, inspecting parts or working at screens?
- Which areas sit empty for long stretches of the day?
- Does daylight reach part of the floor through windows or skylights?
- Are there areas where a sudden blackout would be a real problem, such as stairs, a kitchen line or a checkout?
Step 2: Record What Is Already on the Ceiling and in the Panel
Next, document the existing installation. This is where a site visit from a licensed electrician earns its place, because much of what matters is above the ceiling tile or inside the panel. Count fixtures by type and location. Note the lamp technology, whether it is fluorescent, metal halide or high pressure sodium, because that affects whether a fixture can be converted or should be replaced.
Record how the lights are switched today and which circuits feed them. A single breaker that powers half the floor makes phasing harder. A room controlled by a switch at the far end becomes an easy candidate for a sensor. Mark every exit sign and emergency light so the plan keeps them working through each phase.
If you have drawings, a past electrical permit or a maintenance log, pull them out now. If you lease the space, find out what your lease says about alterations and who owns the fixtures. That answer also matters for incentives, as Step 4 explains.
Step 3: Decide on Controls at the Same Time as Fixtures
Many businesses treat lighting controls as an add on. In practice, the control decision changes the wiring scope, so it belongs in the first plan. Common options include occupancy sensors that turn lights off in empty rooms, daylight sensors that dim fixtures near windows, dimming for meeting and display areas, and programmable schedules for exterior and after hours lighting.
Match the control to the area you mapped in Step 1. A washroom or stockroom that sits empty most of the day suits an occupancy sensor. A perimeter office with good daylight suits daylight dimming. A retail floor may need scenes for opening, closing and cleaning. A warehouse aisle used a few times an hour may suit fixtures that dim when nobody is there. Controls do not always mean new fixtures. Sensors and dimming can sometimes be added to existing circuits, but compatibility depends on the fixtures and wiring, so have an electrician check before you buy controls.
Ask your electrician to explain how staff will override the controls and who will adjust them later. A control system that nobody understands tends to get bypassed, and the lights end up on all night again.
Step 4: Check Incentives and Approvals Before You Order
Ontario businesses can look at the Save on Energy Retrofit program, which offers support and funding for energy saving equipment upgrades in commercial, industrial, municipal and other buildings. The program's listed process puts a project application and project approval ahead of the installation step, and it notes that lessees need the owner's consent to take part.
The practical lesson is about order. If you want to apply for an incentive, check the current program rules before you sign off on product or book an installation date. The program page also notes changes that took effect on June 30, 2026, so confirm the terms that apply to your project on the day you apply. We do not quote incentive amounts or savings figures in this guide, because they depend on your building and the program rules at the time.
Approved products only
The Electrical Safety Authority states that electrical products used or sold in Ontario must be approved by an accredited certification or evaluation agency and carry that agency's mark. ESA also says that installing and connecting unapproved electrical equipment is against the law. That matters when fixtures, drivers or sensors are bought online or imported. Ask for the certification mark on every item in the quote, and let your electrician confirm it before installation.
Step 5: Phase the Work Around Your Business Hours
This is the step that decides whether the retrofit feels smooth or chaotic. Using the use map from Step 1 and the circuit notes from Step 2, break the job into phases that each leave the business able to operate. Some common ways to phase an occupied space:
- By zone: finish one department, aisle or floor before moving on, so only one area is disrupted at a time.
- By time of day: schedule work in customer facing areas outside opening hours, and keep daytime work to back of house.
- By circuit: group the work so a circuit is off only while its own fixtures are being changed.
- Exterior last or first: parking lot and wall lighting can often be done separately from the interior.
For each phase, agree in writing on the start and finish times, which areas will be dark or blocked, where ladders or lifts will be, and who on your team is the contact. Tell staff and, where needed, your landlord or property manager. Keep exits and emergency lighting working at every stage, and confirm that in the plan.
Kolji Bros. Electrical offers after hours and weekend installations for retail stores, offices and other businesses through its commercial lighting service in Toronto, which helps when daytime work is not practical. Night work still needs access arrangements, alarm codes and a clear handover each morning, so plan those details along with the schedule.
Step 6: Hire Licensed, Then Check the Result Against the Plan
In Ontario, the Electrical Safety Authority says only Licensed Electrical Contractors, or electricians employed by one, can legally be hired to do electrical work. A contractor's 7 digit ECRA/ESA licence number should appear on their truck, business card and estimate, and you can look it up with ESA's Find a Contractor tool. Your Licensed Electrical Contractor files the notification of work with ESA and has the work reviewed. ESA's guidance on notifications says almost all electrical work must be reported, and that a homeowner who does their own work in their own home must file that notification. For a business retrofit, the practical route is a licensed contractor who files it before work starts.
When each phase is done, walk it with the electrician and your use map in hand. Check the problem areas you noted in Step 1. Test the sensors by leaving a room and waiting. Check daylight dimming on a bright day and a dull one. Confirm exit signs and emergency lights work. Ask for a record of what was installed, where the controls are, and how to adjust them, so the next person managing the building does not start from scratch.
What Shapes the Cost of a Retrofit
Every building is different, so we do not publish prices for commercial lighting work. These are the factors that move a quote up or down in a GTA building:
- The number and type of fixtures, and whether they are converted or replaced
- Ceiling height and access, including lifts for warehouse or high bay areas
- The control scope, from simple sensors to programmable systems
- Circuit and panel changes needed to support the new layout or controls
- After hours or weekend scheduling and the number of phases
- Exterior lighting, emergency lighting and exit signs in the same project
Ask each contractor to quote the same scope, phases and control plan, so you are comparing like with like.
The Bottom Line on Planning a Retrofit
A good commercial lighting retrofit starts with the people using the space, not the product catalogue. Map the areas, record what is there, settle controls and incentives early, and phase the work so your business keeps running. Then check each phase against the plan before you call it finished.
Planning a lighting retrofit for your workplace?
Kolji Bros. Electrical walks your space, records the fixtures, circuits and controls, and builds a phased plan around your hours. Learn more about our commercial lighting work and our wider commercial electrical service across Toronto and the GTA.
Kolji Bros. Electrical is a Licensed Electrical Contractor, ECRA/ESA #7015453.